Basic Operations
Basic Operations
Section titled “Basic Operations”This guide outlines all the steps to quickly get started with WizQl.
As soon as you are connected to a database the application gives you quick access to all the things you will ever need.
In order to go into all the operations of the application we will be breaking it up into three sections.
- Left Pane
- Editor View
- Right Pane
Left Pane
Section titled “Left Pane”On the left pane are all the schemas, tables, functions, indexes, etc which are ready to be edited.
Clicking on a table opens up the table in the editor view showing the rows and columns.
On the top of the left pane is the pinned items, menu. Anything pinned will be available over here.
Below the pinned items, are the tables. This is open by default on each connection launch.
Clicking on the table accordion opens up the complete table overview showing you all the tables available in the schema.
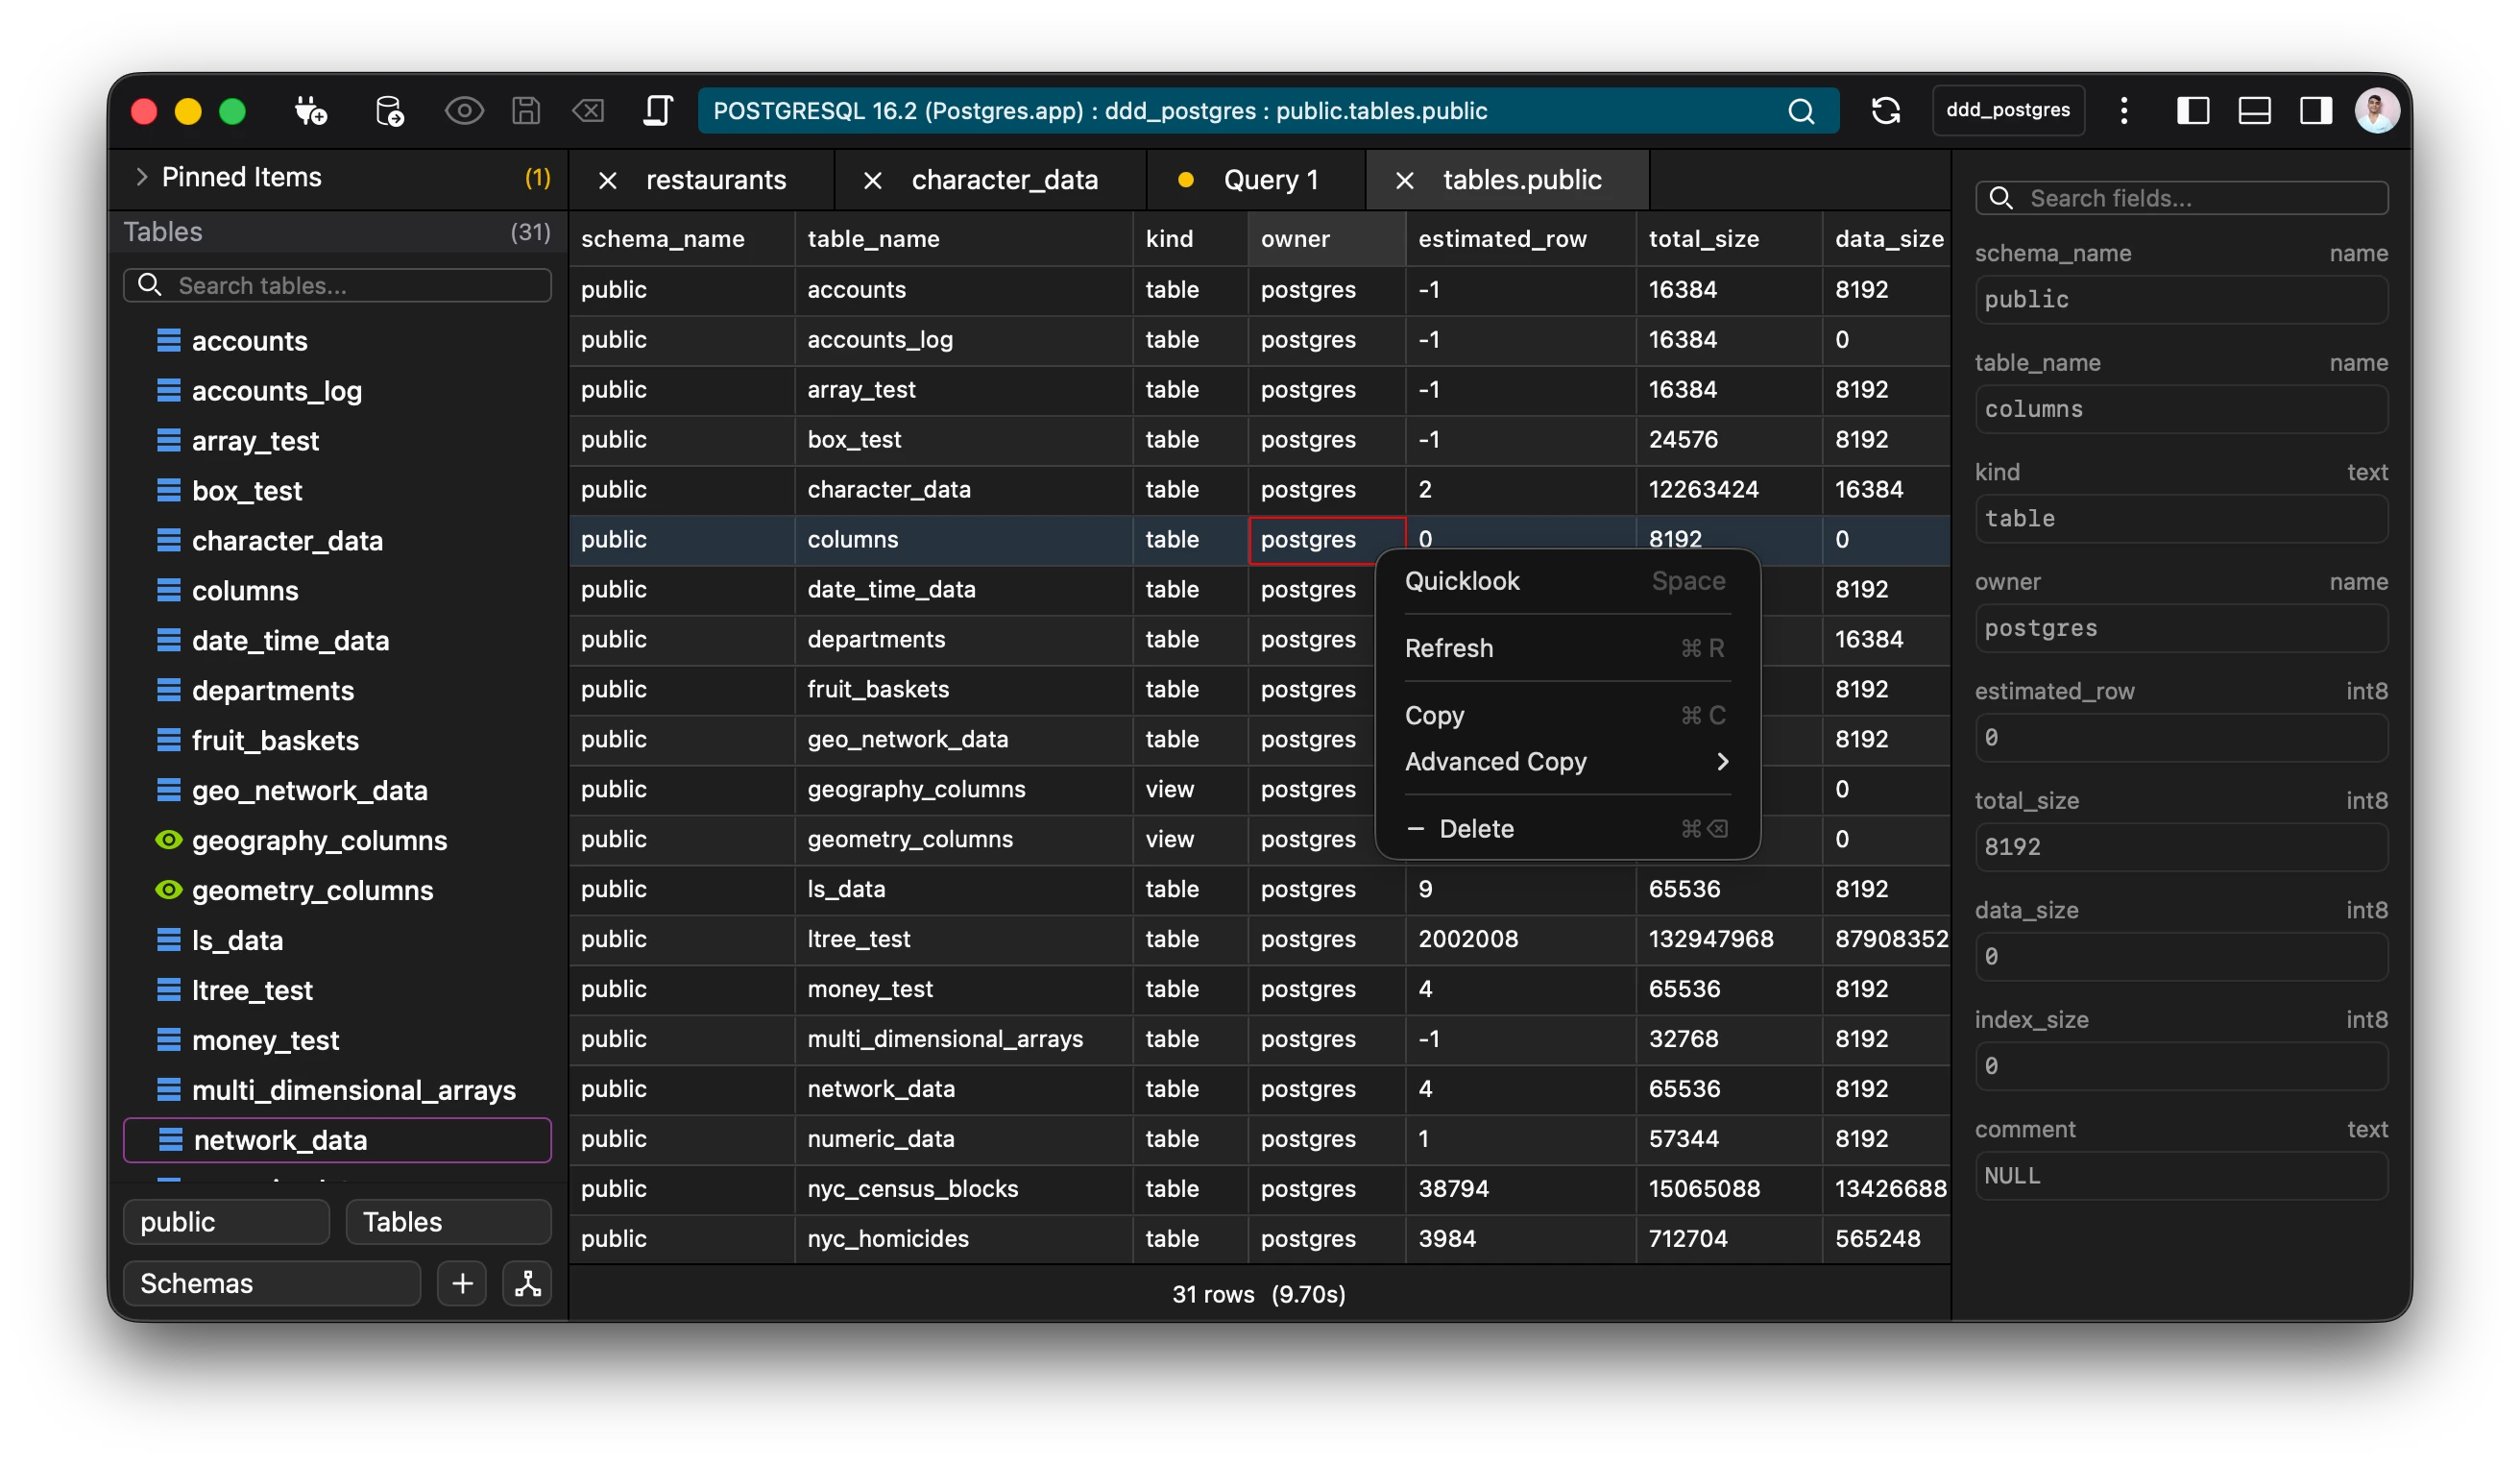
💡Tip: Double clicking on a row of the table name will open the table in a new tab.
You can also delete any table from the tables overview.
The left pane also has a number of features available via the context menu (right click).
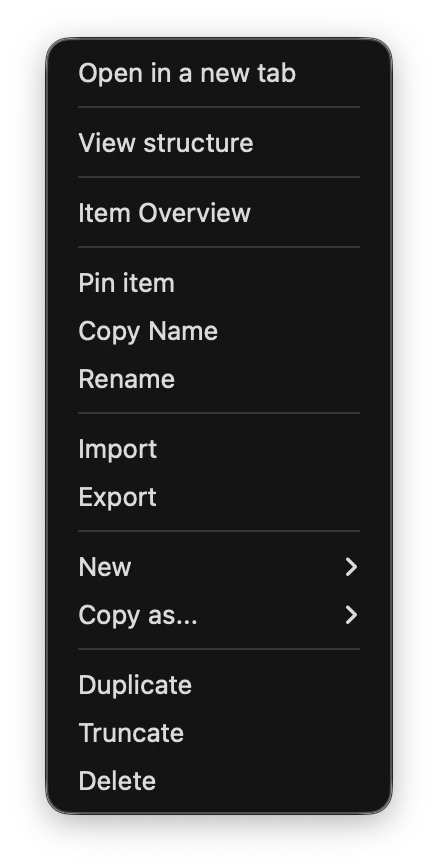
These features include:
- Opening in a new tab (by default if the item has already been opened it will bring that tab to focus).
- Viewing the structure of the item.
- Pinning item.
- Import and exporting the item.
- Creating a new item.
- Deleting the item.
- Duplicating and truncating the item.
💡Tip: You can delete and rename multiple items by selecting via the keyboard Shift + Up or Down or via the mouse by holding down the primary button and dragging.
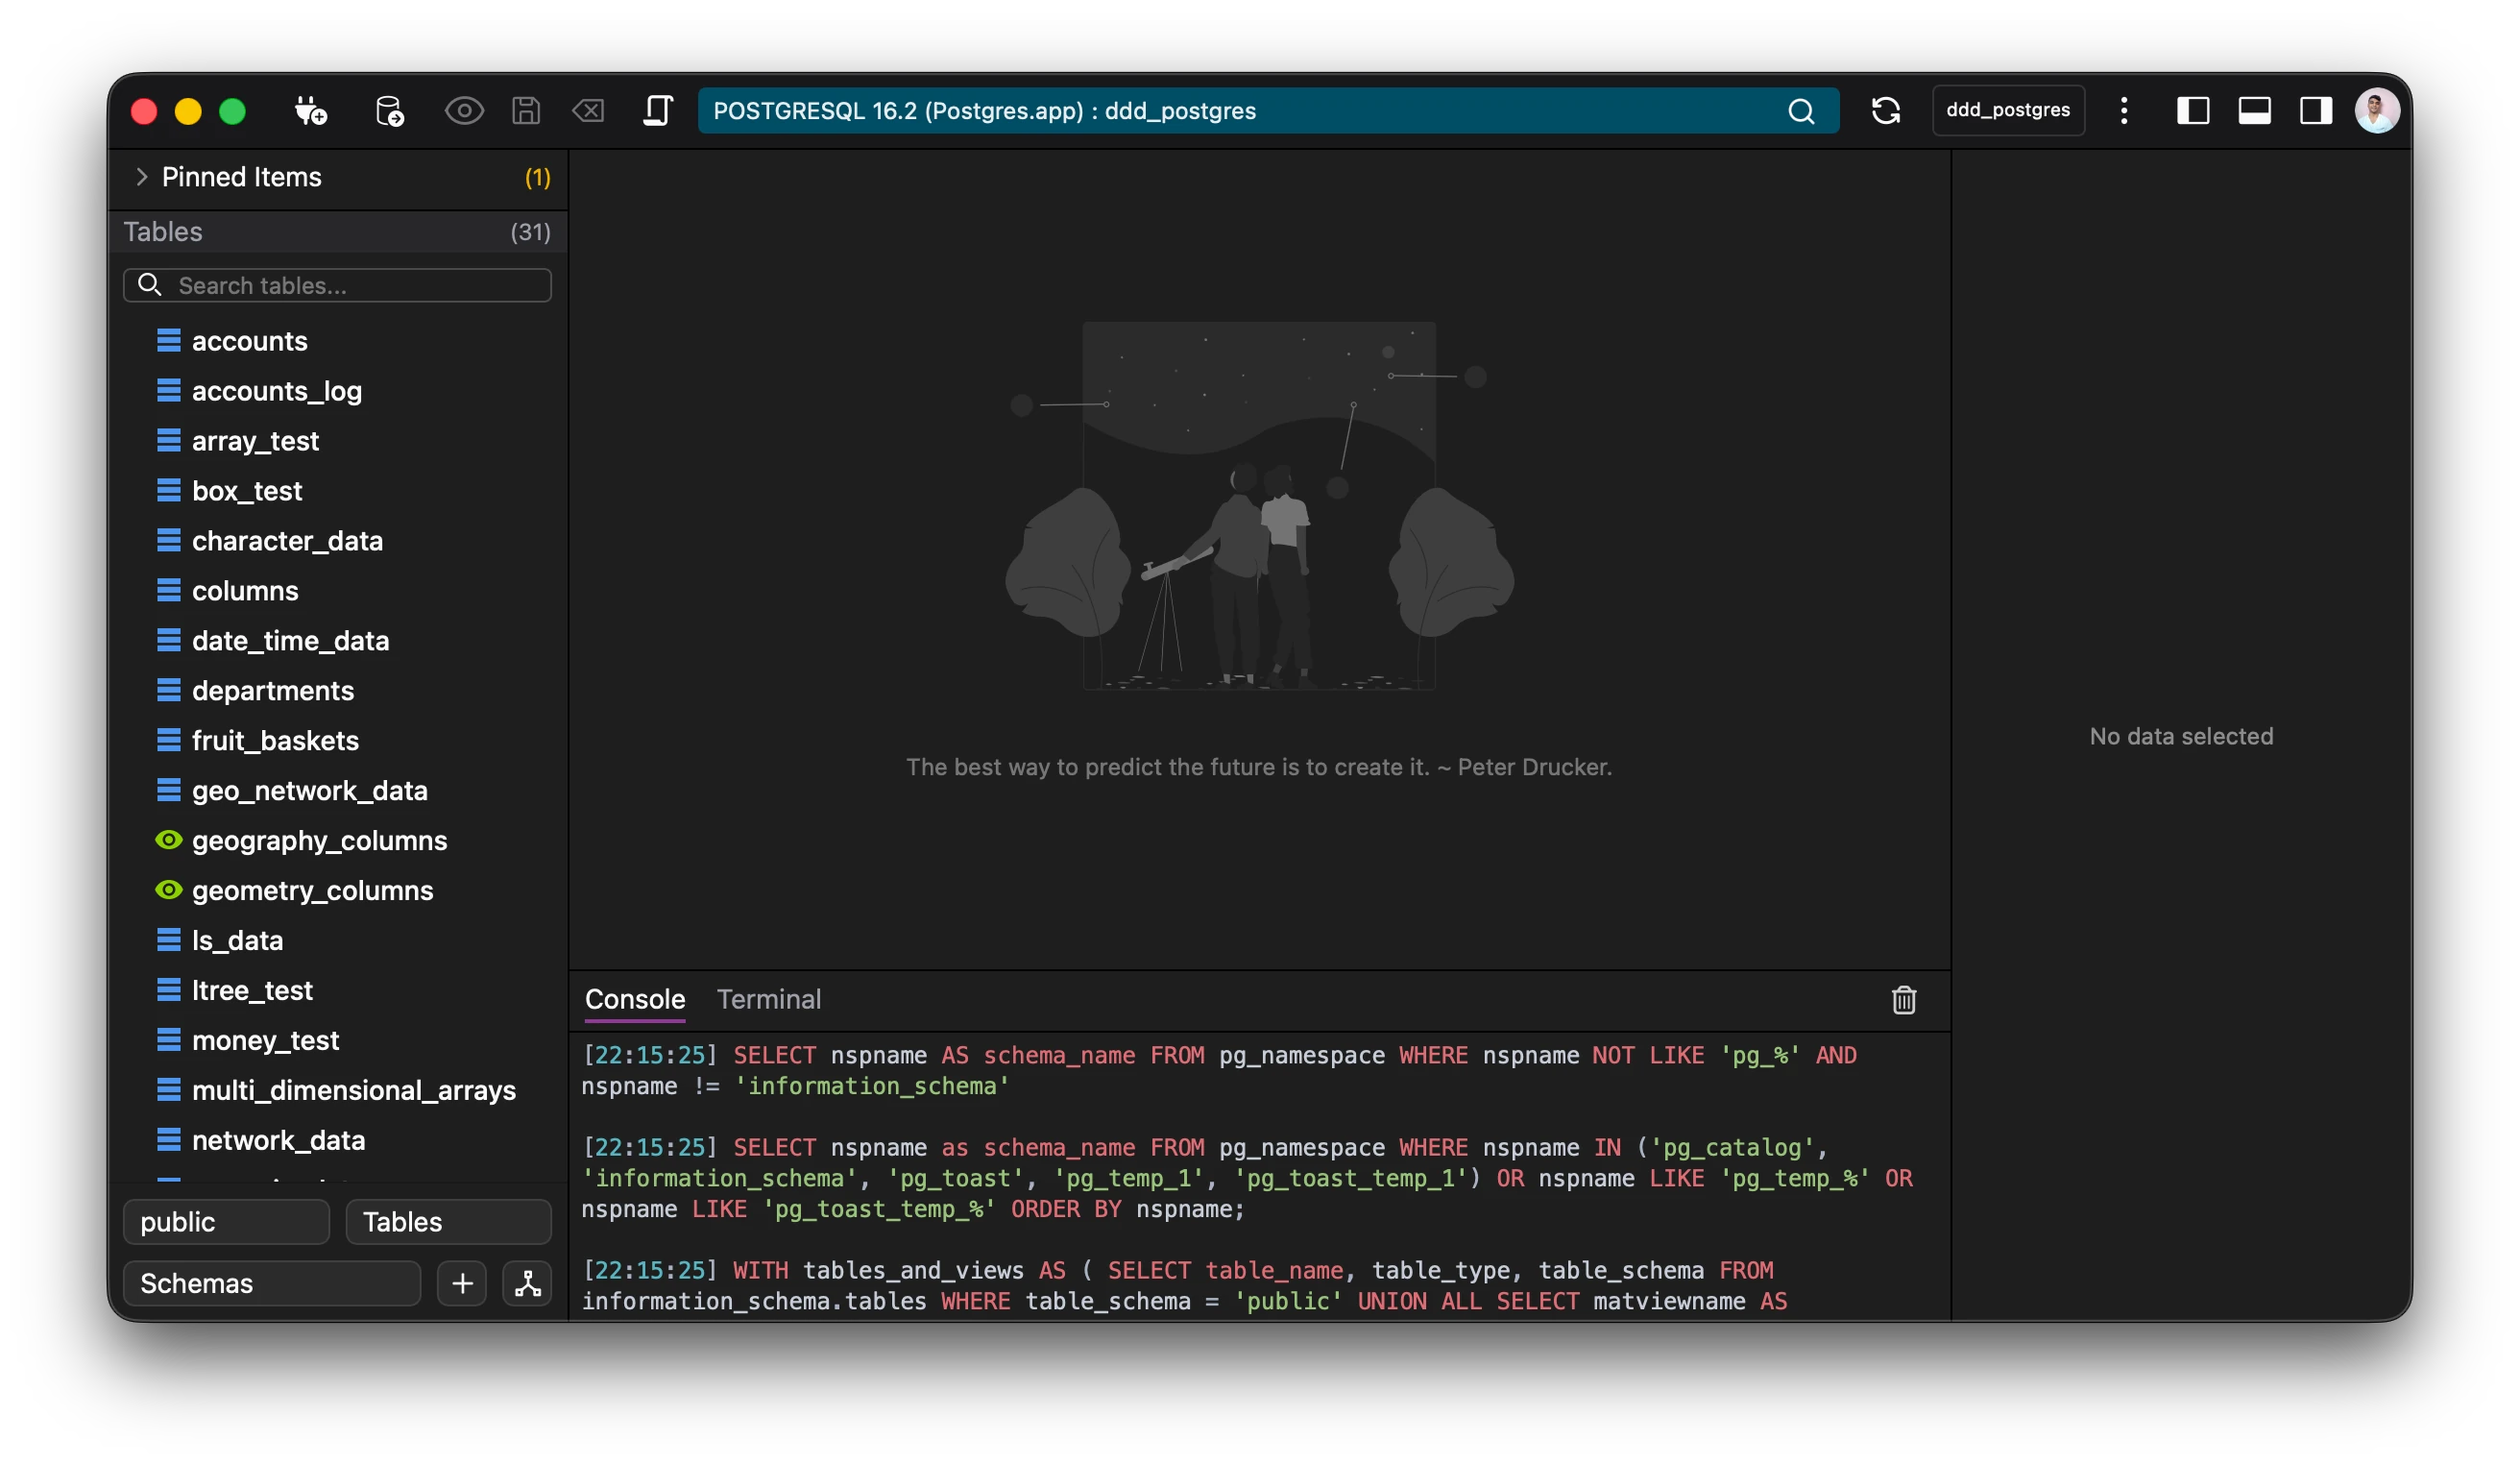
Editor View
Section titled “Editor View”The editor view shows you all the open views.
The most commonly used views are the SQL editor and the Data View.
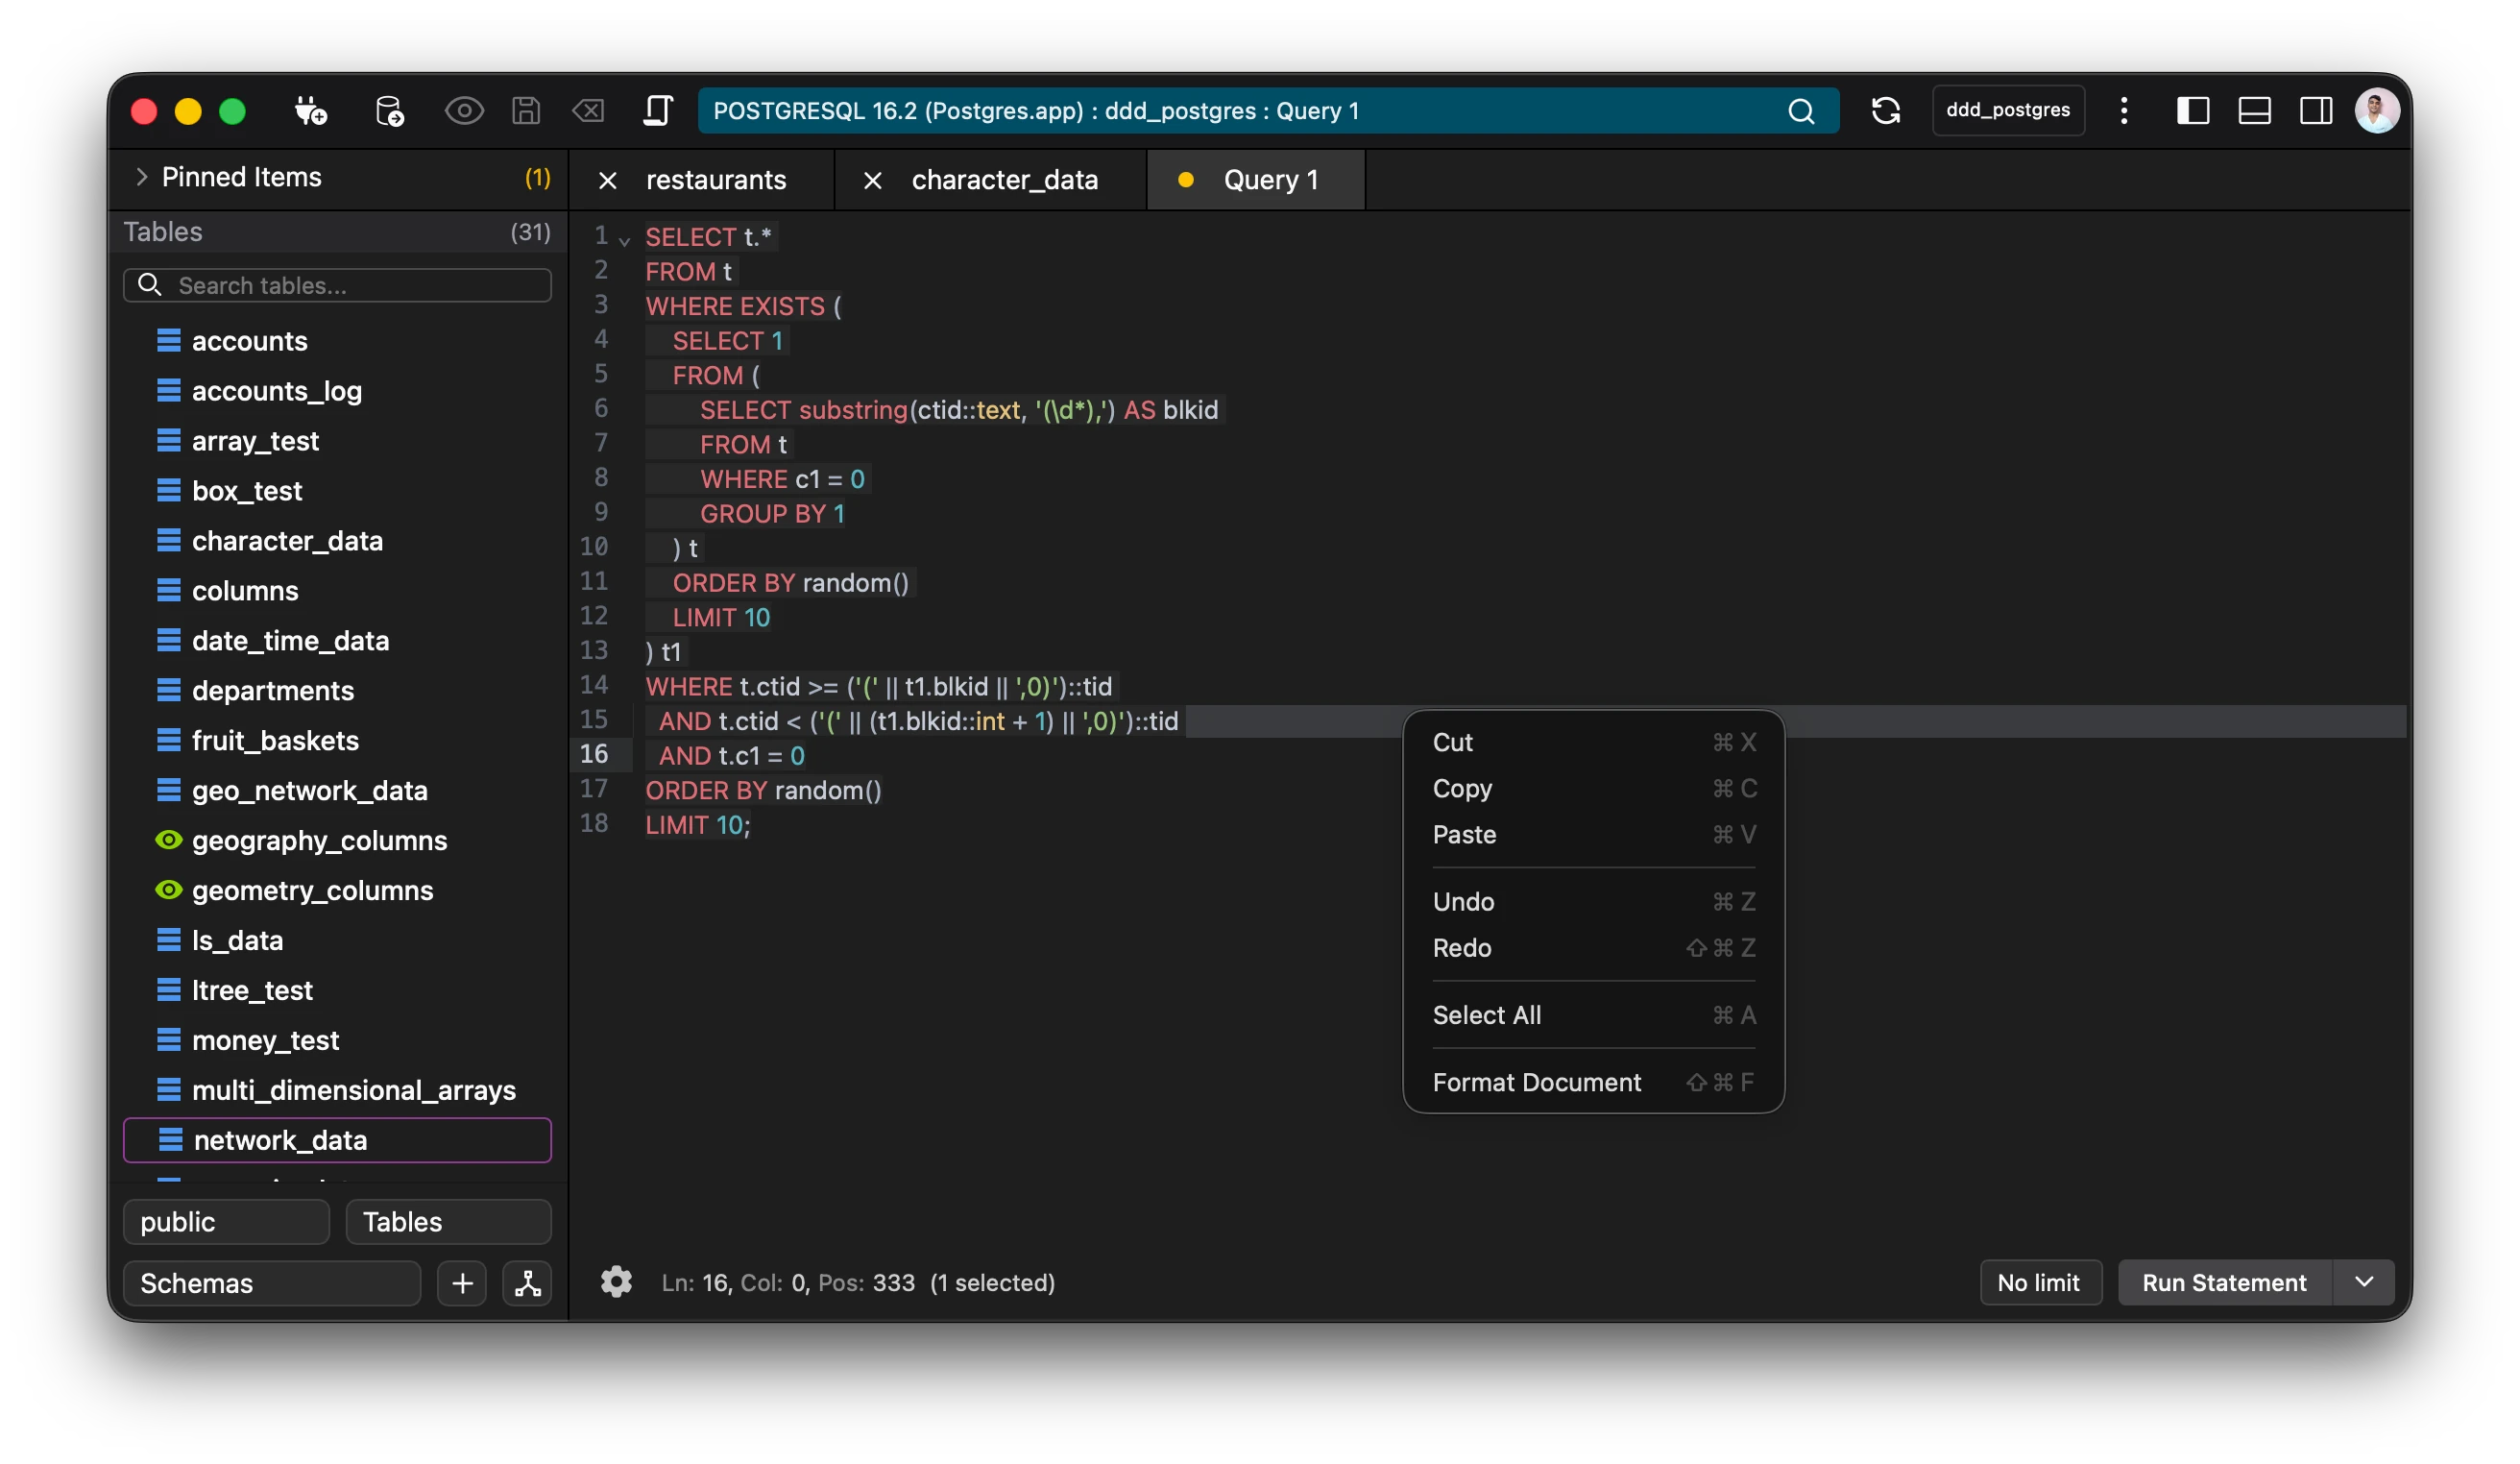
SQL Editor
Section titled “SQL Editor”The sql editor is a fully featured code editor with support for multi-cursors, intelligent autocomplete, search and replace, syntax highlighting and much more.
💡Tip: To quickly prettify and format the text, use Keyboard Shortcut: Ctrl+Shift+F (Windows/Linux) or Cmd+Shift+F (Mac).
Note: In order to receive realtime lsp autocompletions, the LSP should be enabled from the settings menu and the editor reopened.
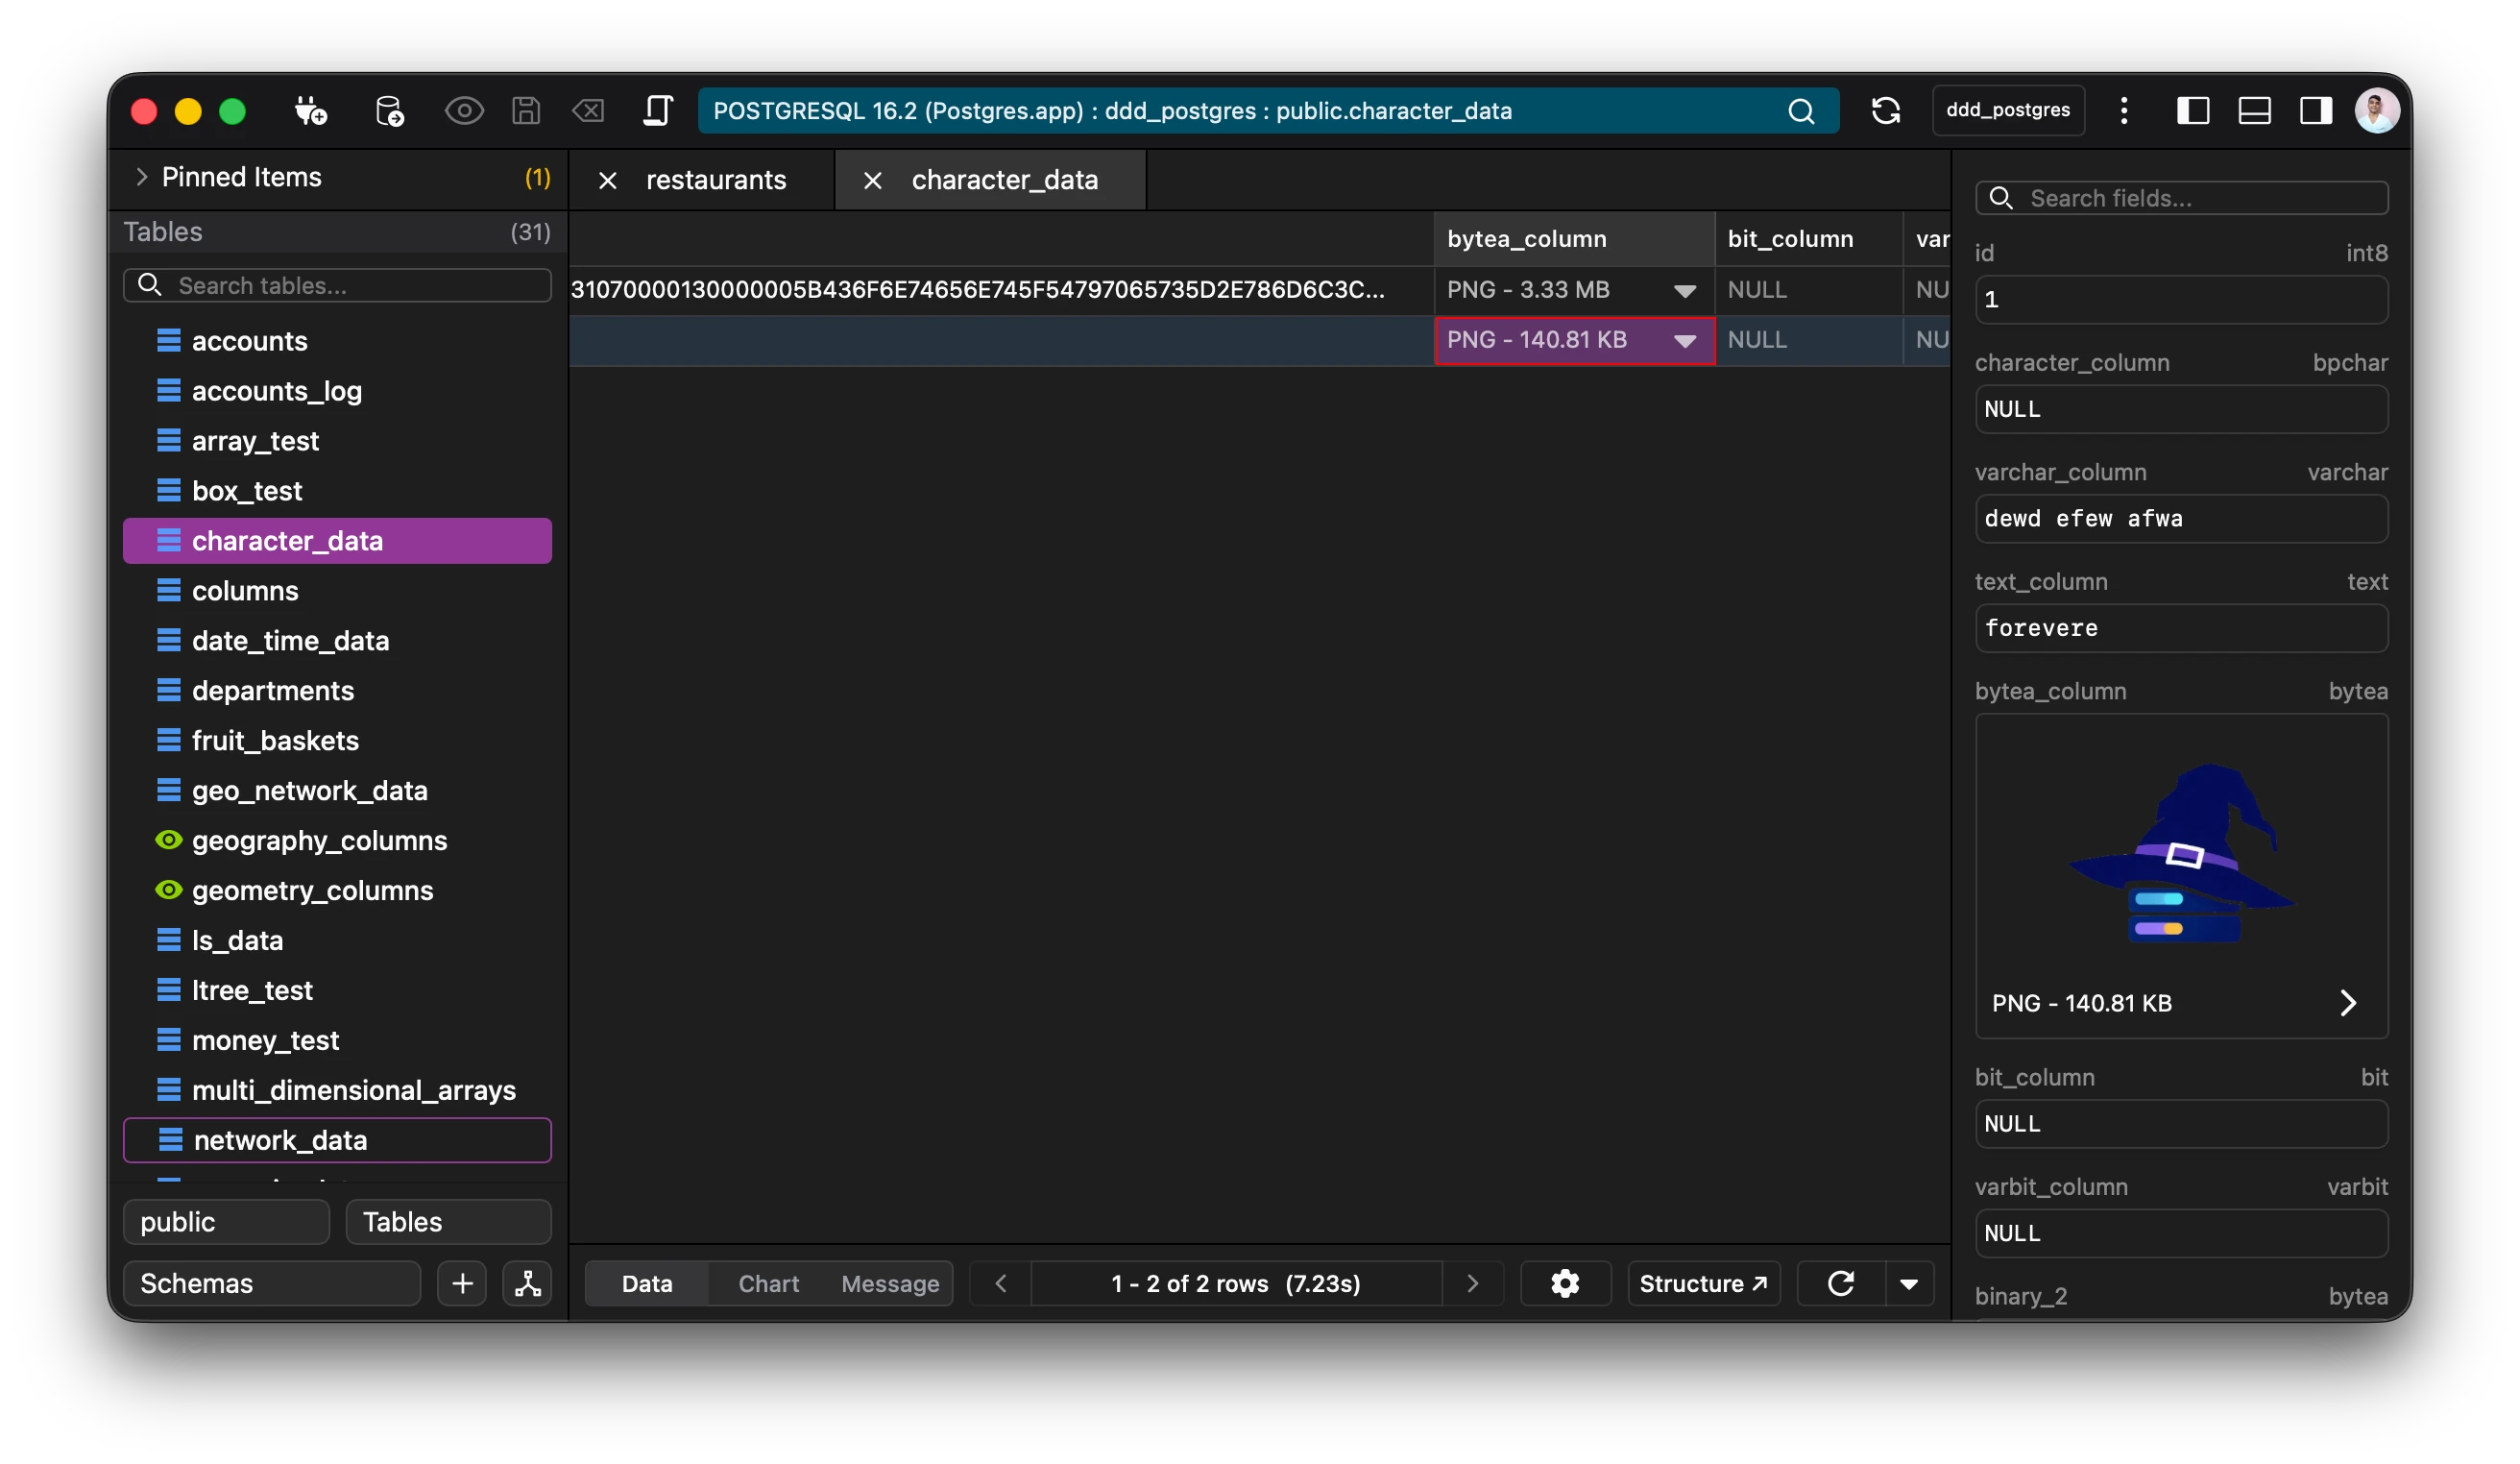
Data View
Section titled “Data View”The data view enables you to edit and create data using cells. It gives you an excel like view of managing data.
The data view maintains its own edit history and so any mistake can be undone.
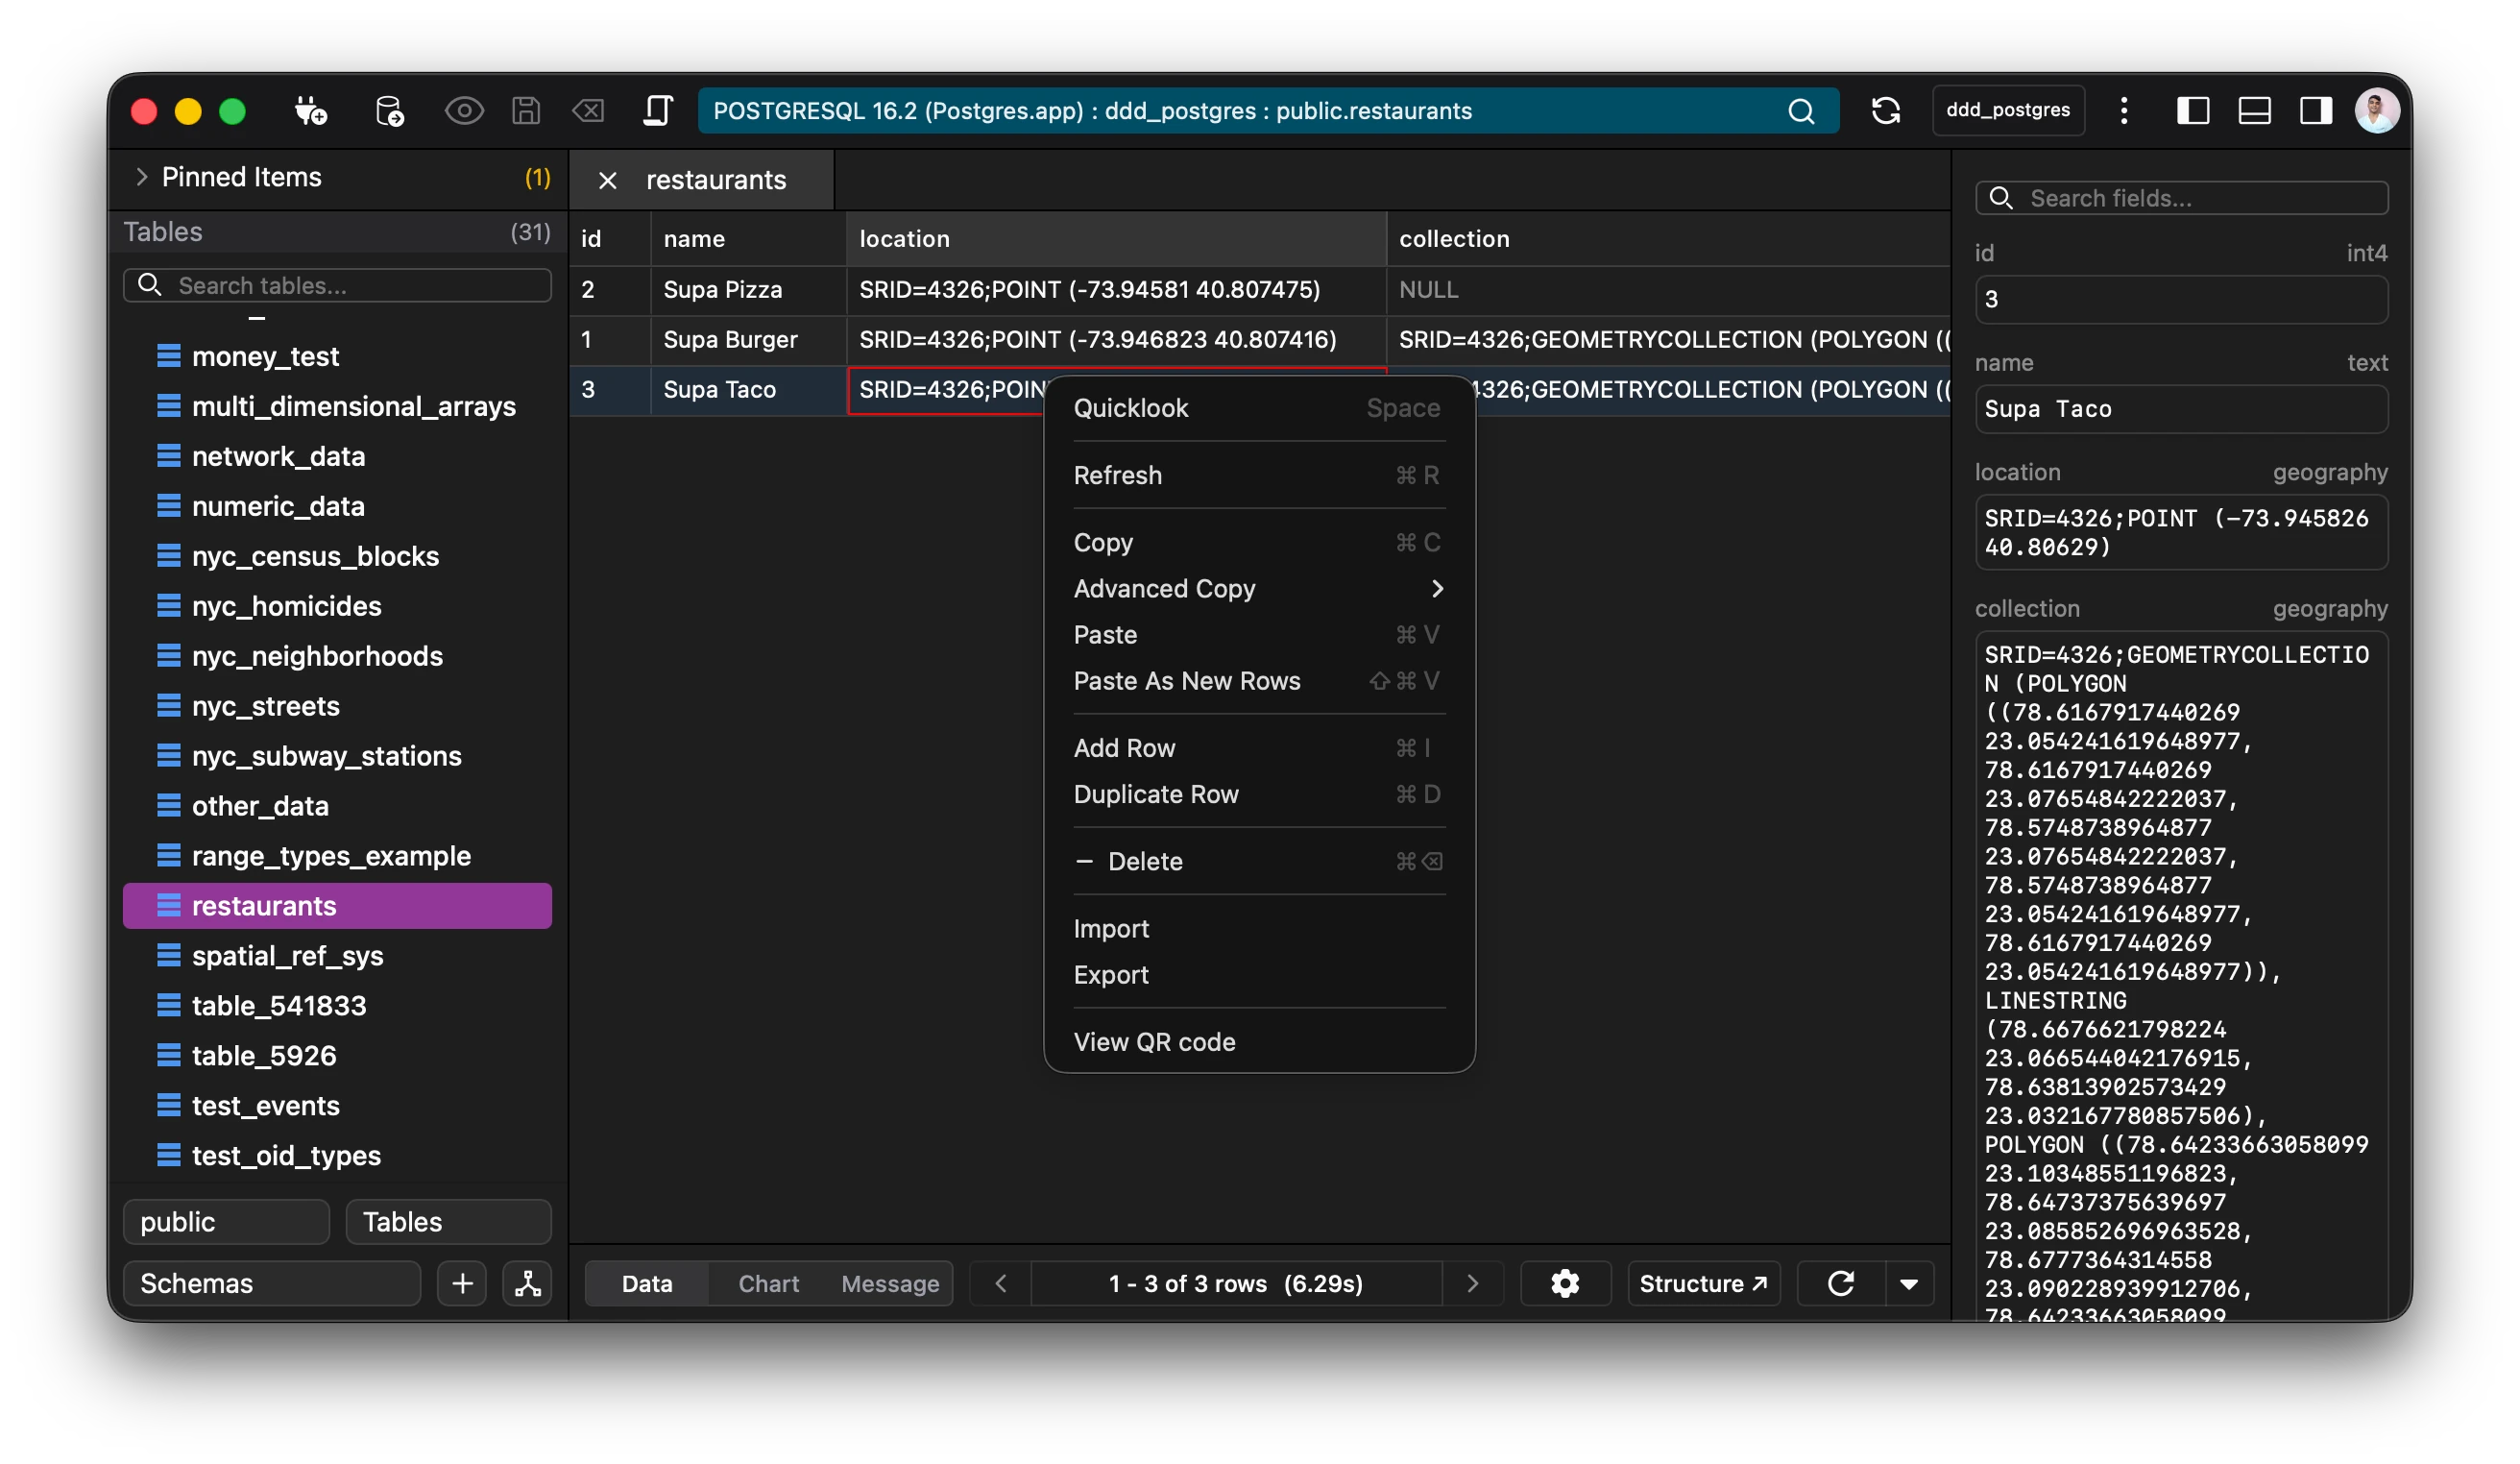
Quicklook
Section titled “Quicklook”Every cell can be quicklooked. Quicklook opens a seperate window the cell data can be viewed and edited.
💡Tip: Use SPACE or the context menu to open the quicklook window.
The quicklook window supports, text as well as binary data. Have an image as binary data, quicklook it. What about a pdf file? It supports that as well.
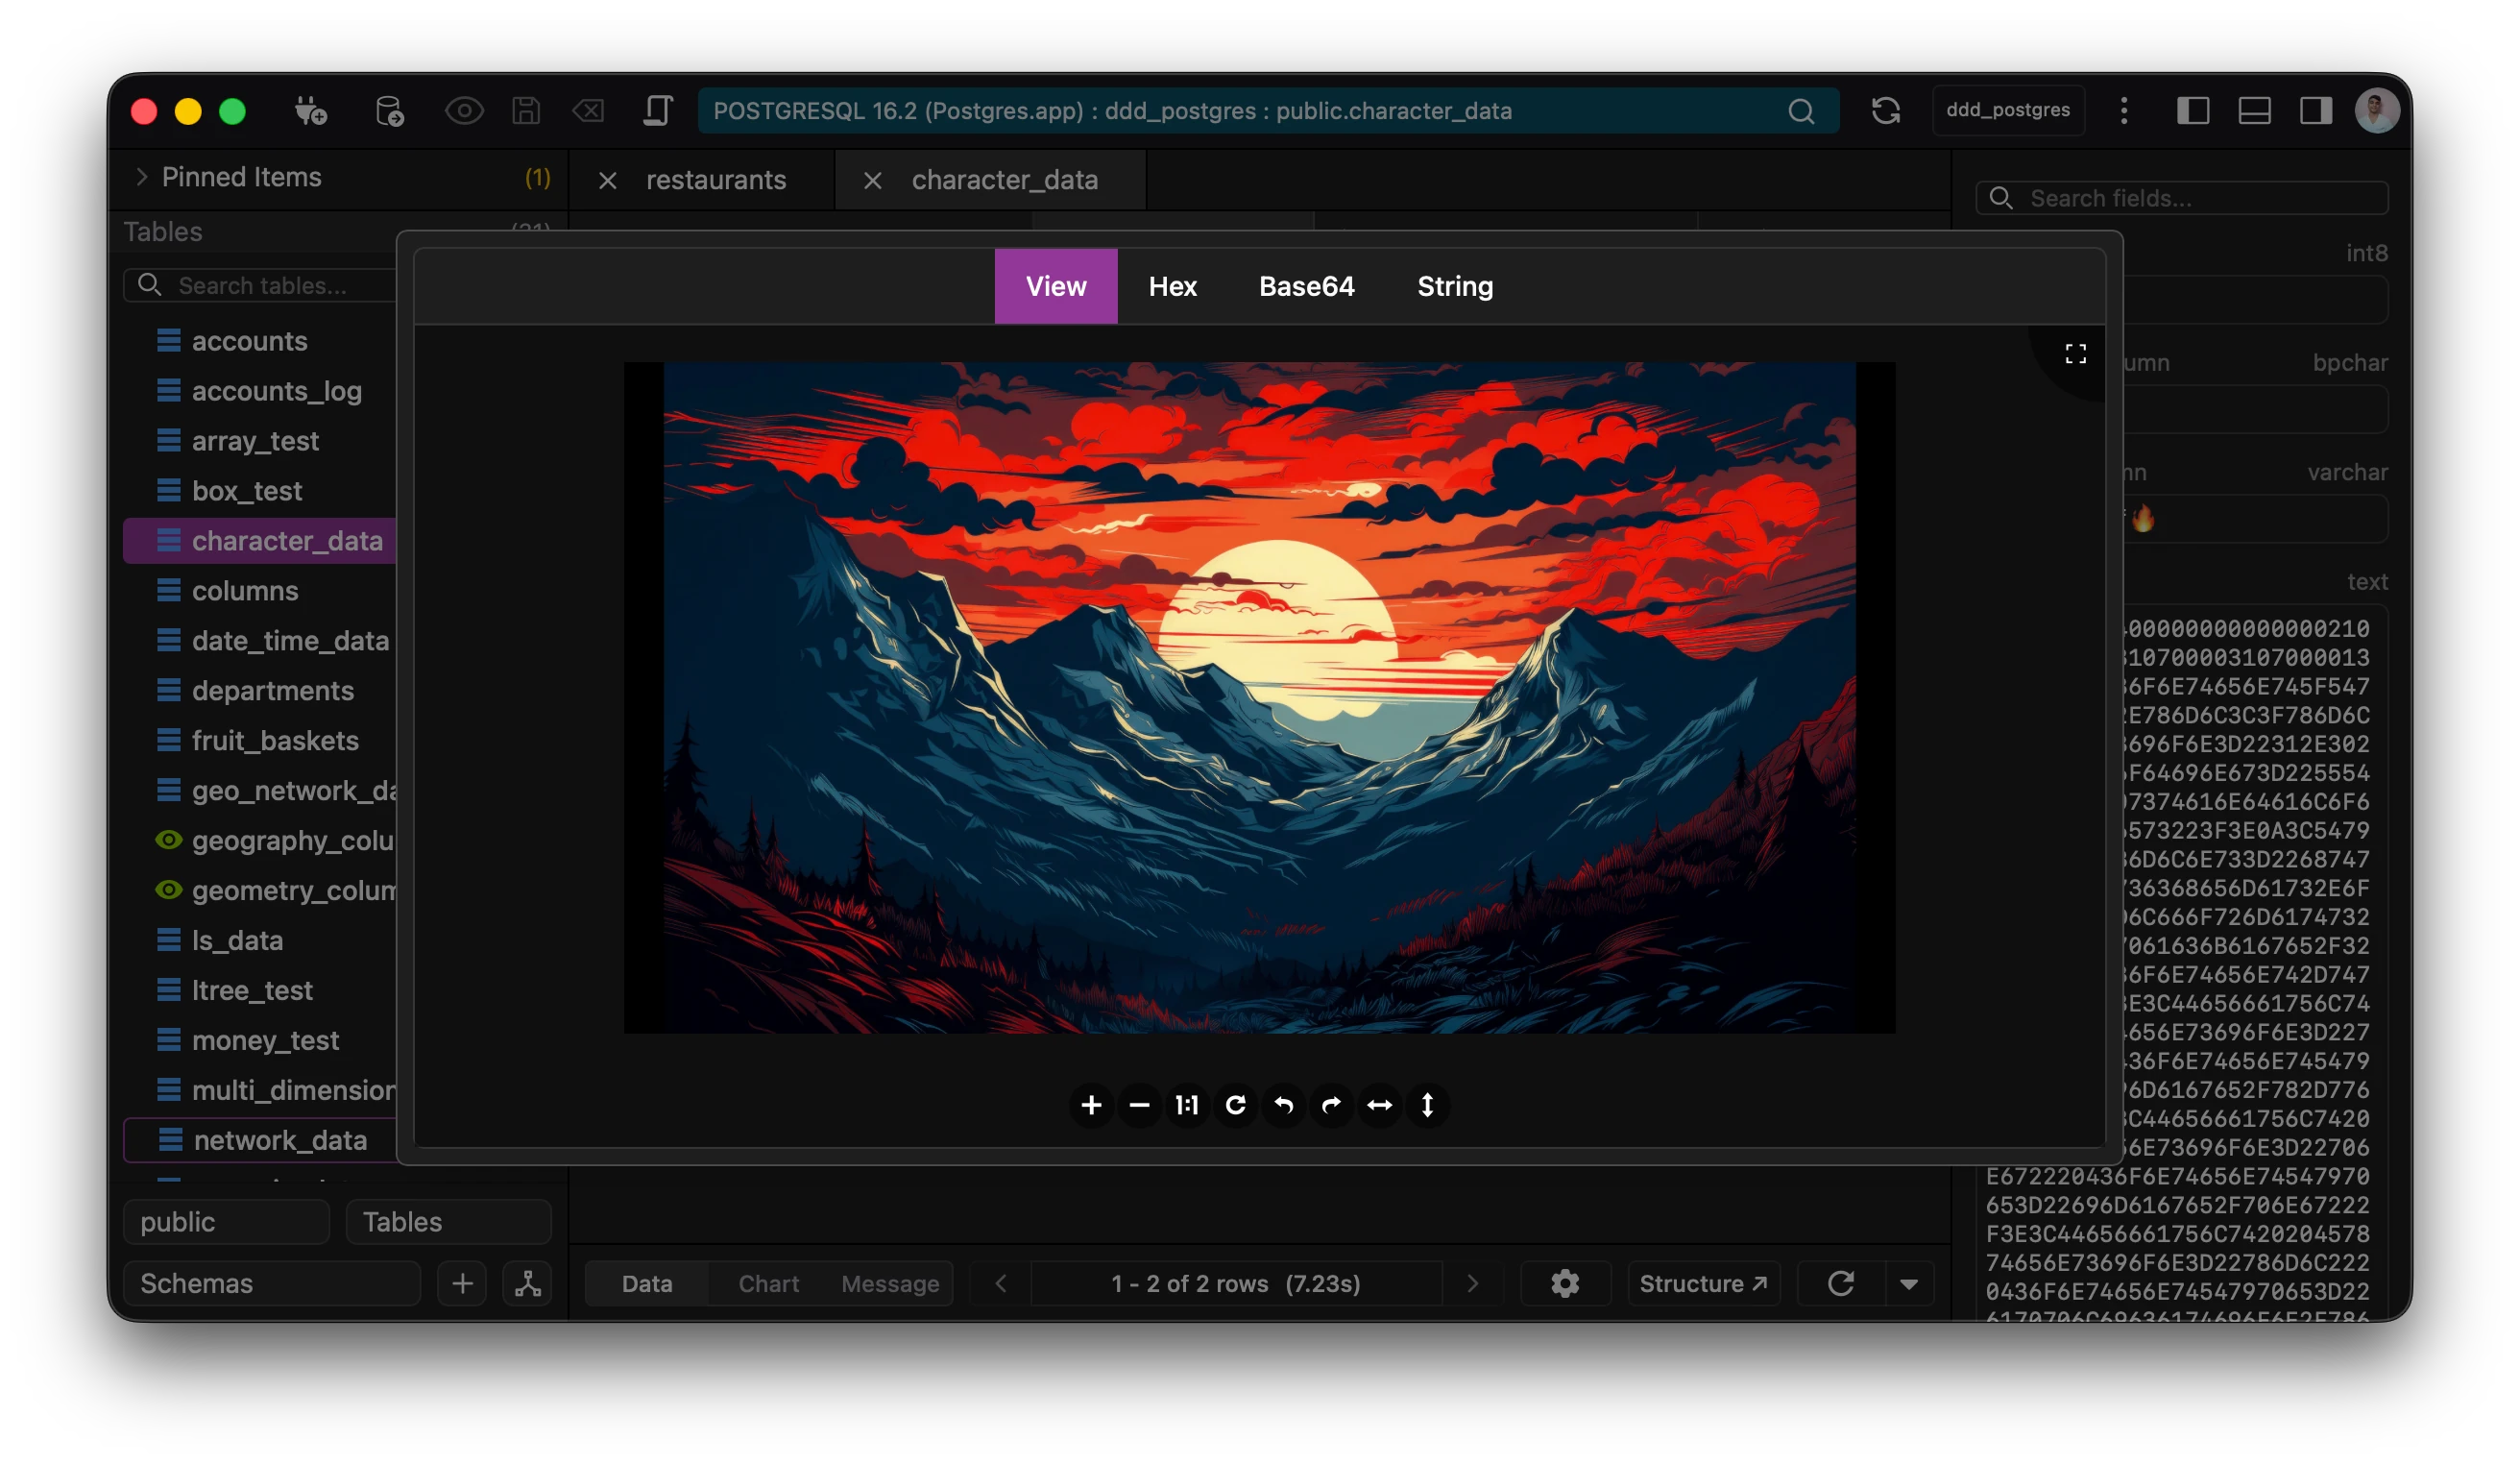
💡Tip: Click on the image while using quicklook to interact with the image.
Quicklook even supports maps and geometry data.
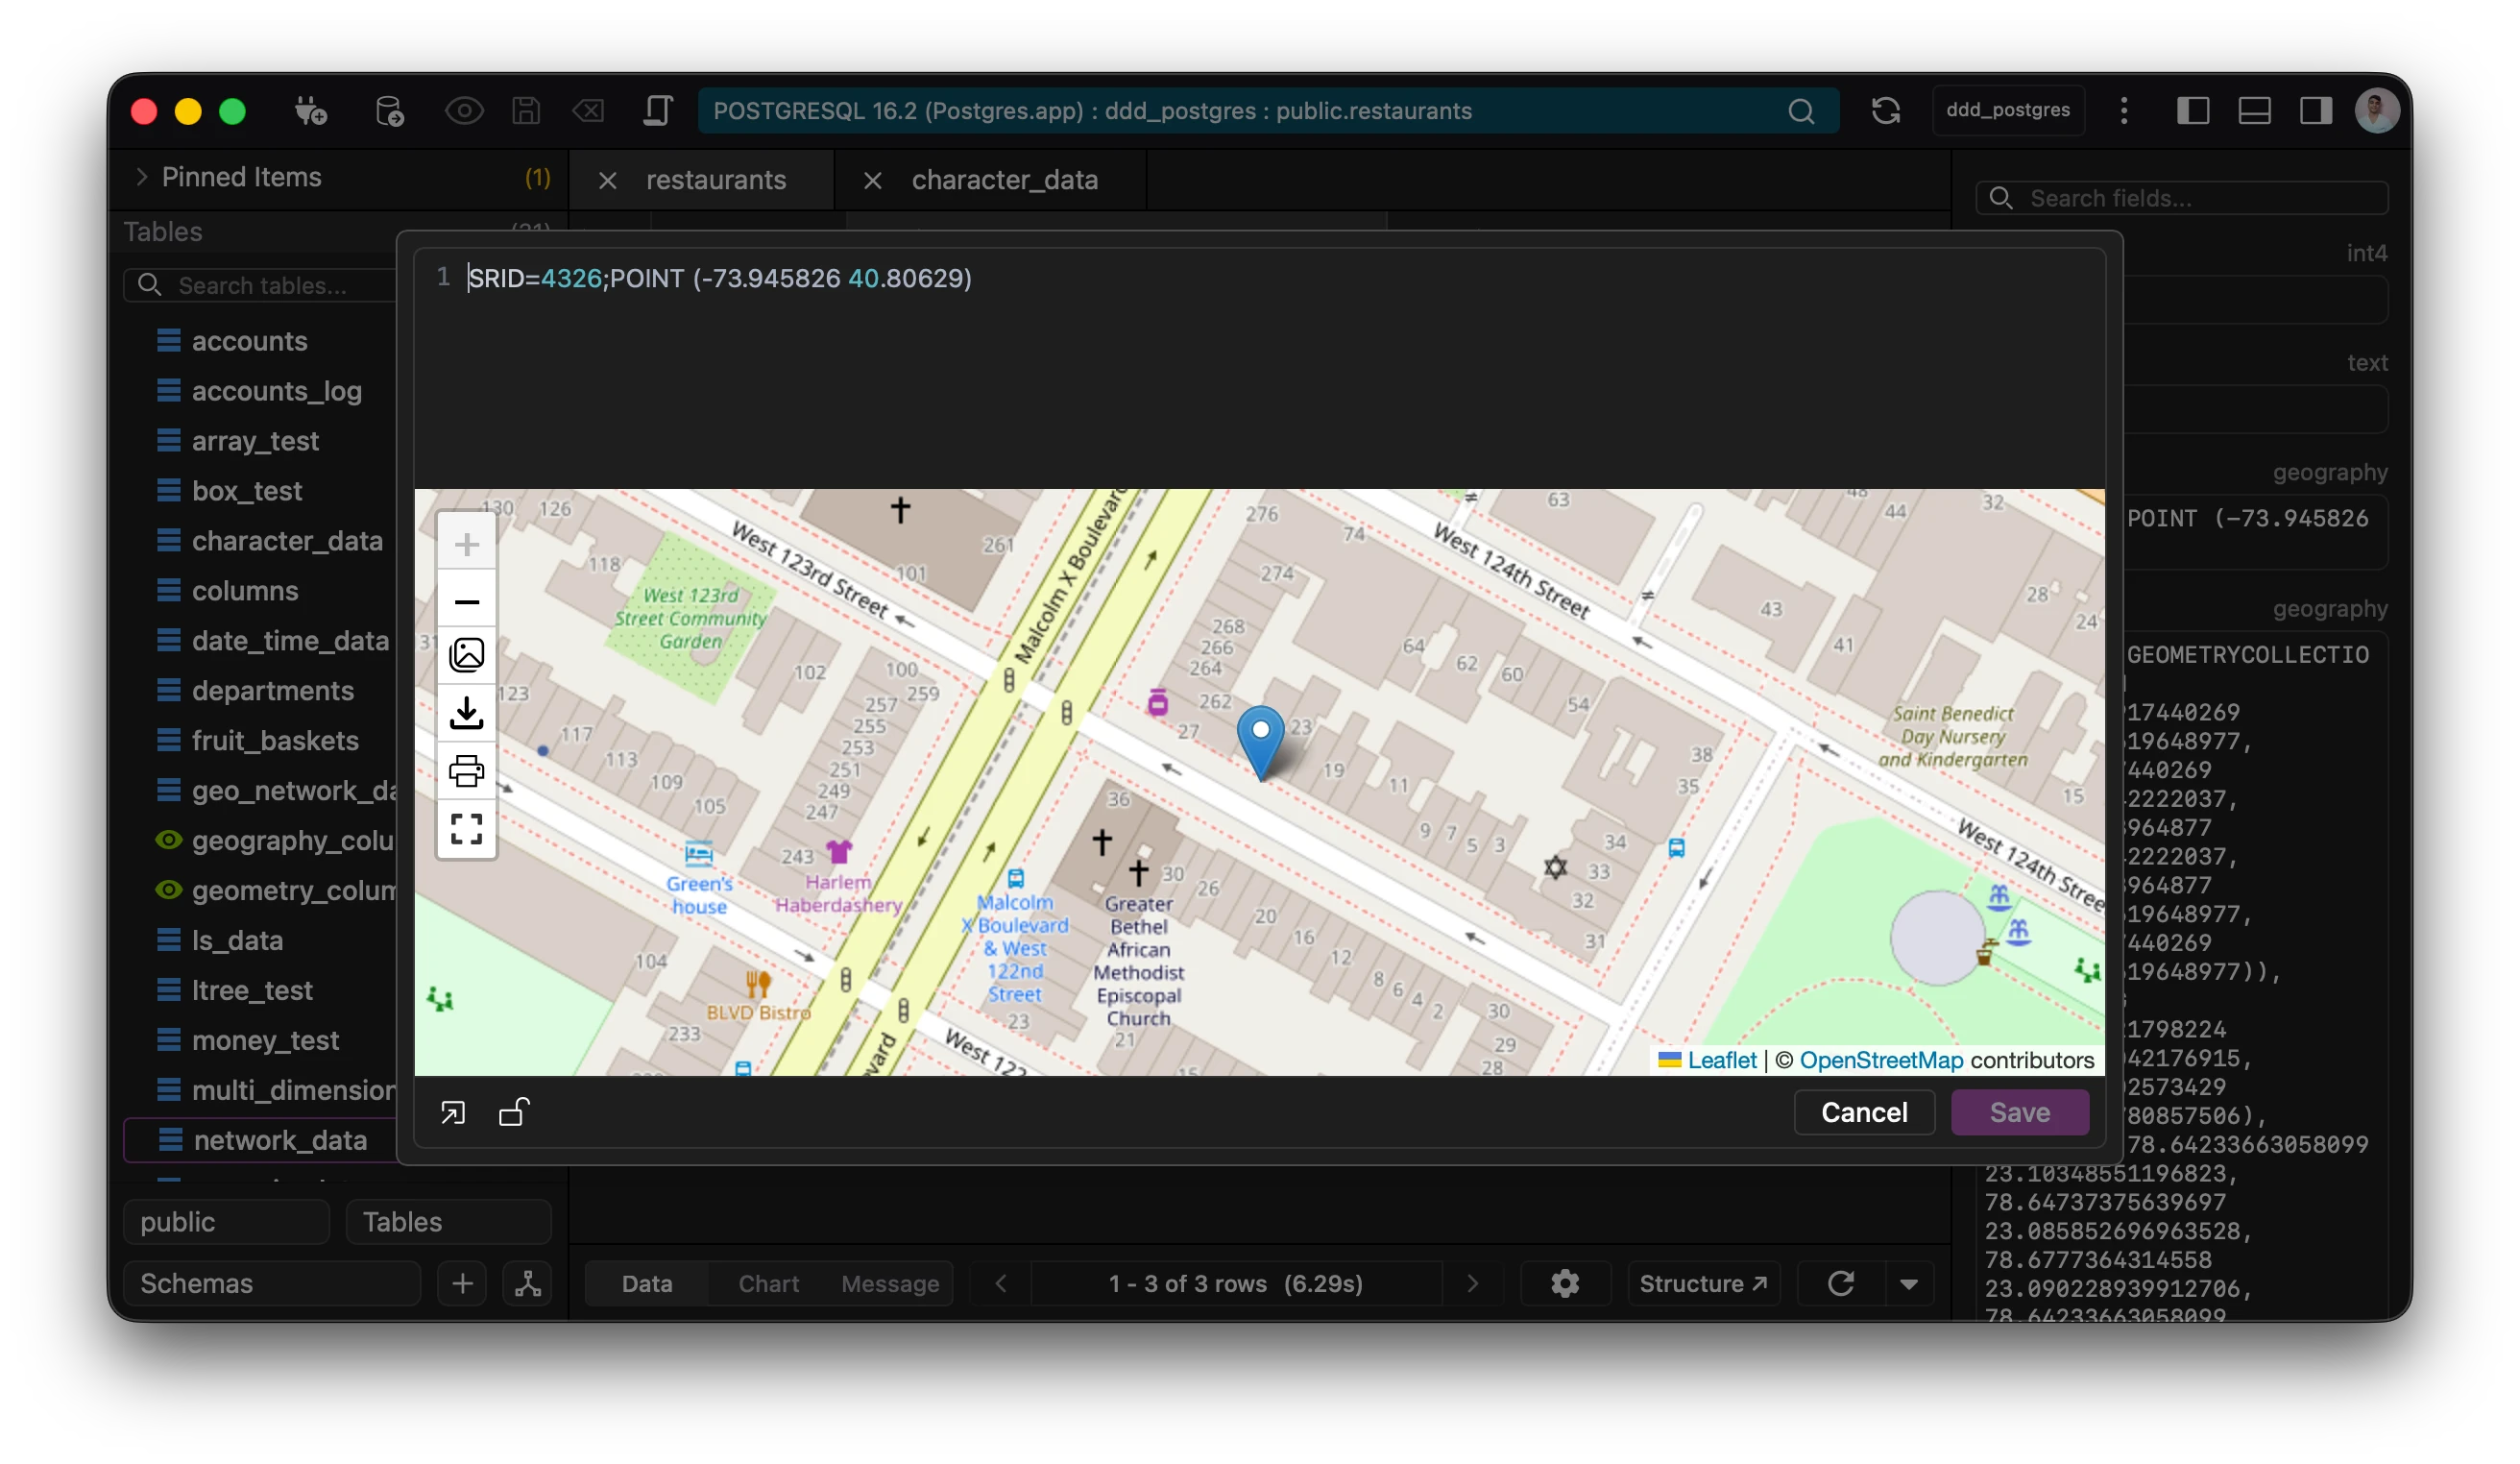
Note: Unprojected data is automatically projected in order to be viewable on the map.
Charts
Section titled “Charts”The editor view also allows the user to view data in the form of charts. Just enter the fields to be charted, and the application takes care of the rest.

The application currently supports Bar, Pie, Doughnut and Line Charts.
💡Tip: Charts and maps are dowloadable, printable and copyable to the clipboard.
Right Pane
Section titled “Right Pane”The right pane displays all cells within the selected row, providing an intuitive interface for efficient data management. This focused view streamlines editing workflows and offers pre-built functions to accelerate common data operations.